
Here is Arwen modeling the first doll sized one I made. It is really cute and since they are very stretchy its pretty easy to get over her head. With this one I just glued the ends together but in the one I will show you below I used a clasp because it makes it easier to put on.


So without further ado, here is how to make one! >u<

So this is everything you will need to make it.
~An old hardcover book
~A large binder clip
~Scissors
~A ruler
~Hot glue-or- Regular glue (NOT SHOWN)
~A clasp (OPTIONAL and NOT SHOWN)
~ String called Stretchy Magic
I found the stretchy magic at A.C Moore, but you can most likely find it at many other craft stores and On Amazon. They have many different colors, but for this tutorial I am just going to use black.


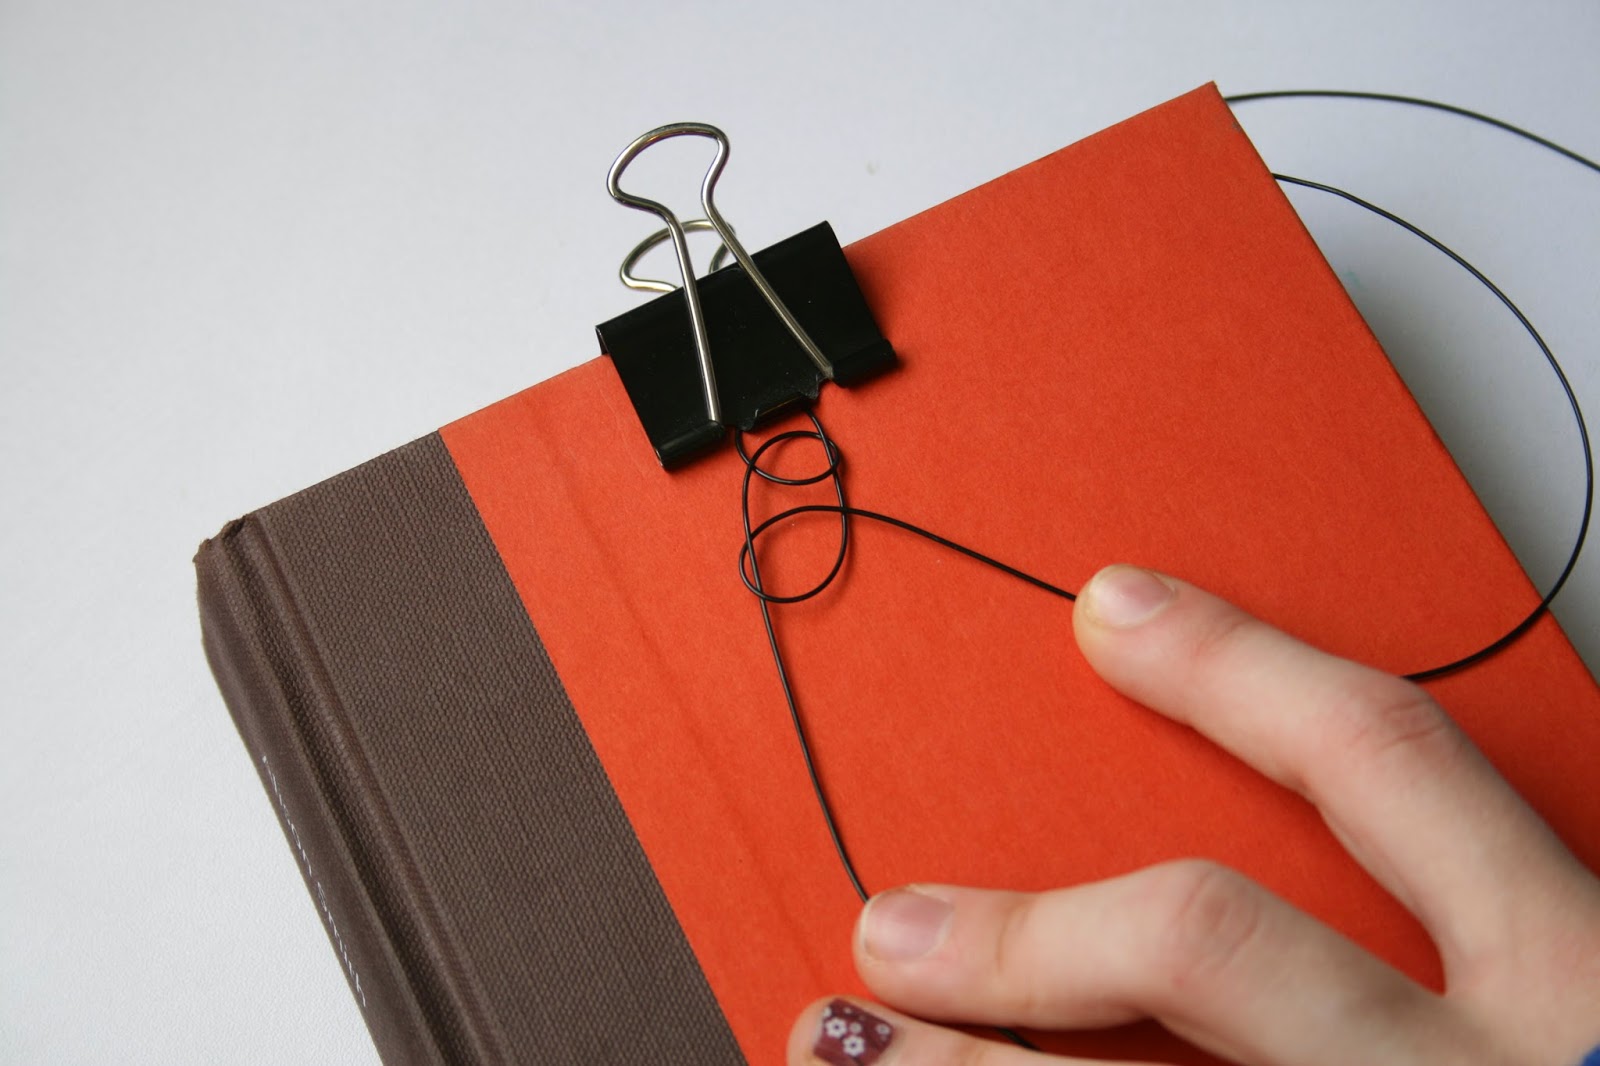
Step 2~ Fold it so you have two equal strands. Put it under your binder clip. REMEMBER! The farther under your loop is the bigger the end will be. I recommend putting it close to the end of the clip, where the clip is just barely holding onto the loop.


Step 4a~ Repeat 3a using the other strand.
Step 4b~ Repeat step 3b using the other strand.

Step 4c~ Repeat step 3c.
Now repeat these steps until you get...
This.
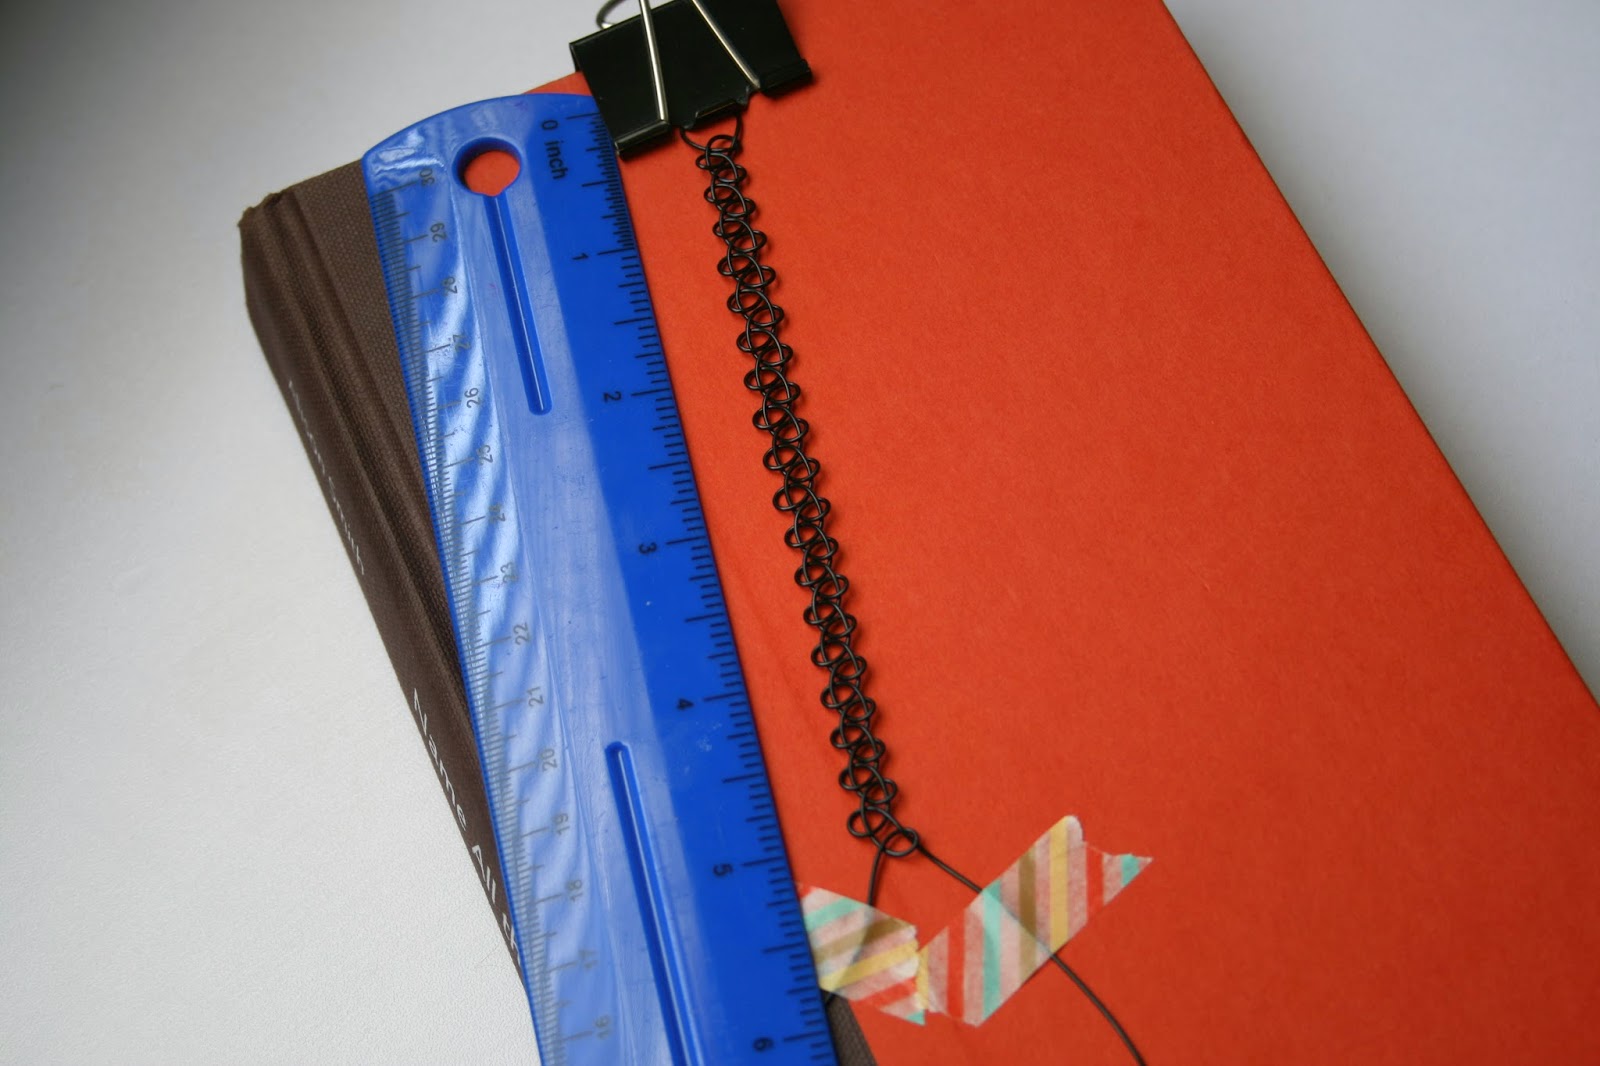
Step 5~ Make it until it is 5 inches long. Measure from the tip of the loop to your last loop. You may need a little bit of extra because of step 6.

Step 6a~ Heat up your hot glue gun or get your craft glue ready. I use hot glue since it dries quickly. But using a hot glue gun BE CAREFUL! You might want a parent's help for this if you're under the age of 12 or BE VERY CAREFUL! HOT GLUE BURNS YOUR SKIN!

Step 6b~ Make a knot. This will shrink a few of your loops at the end but luckily this won't be viewed so it doesn't have to be beautiful.

Step 7~ Put a glob of glue making sure it covers your knot. This will help make sure your know on't come undone.


Step 8~ Clip off the excess. The bottom pic is of how much excess there was.

This is the closure I used.

Step 9~ Hook the closure to the loop closest to the glue globbed knot. You have to open and close the ring at the bottom of the clasp. I used pliers to do this. I also recommend taking it off your book.

Step 10~ Put your clasp onto the end loop on the other side and VOILA! You have your own doll sized tattoo choker.


I hope you enjoyed this tutorial and I hope this helped. Here is Saige modeling the new one. This one is a lot easier to get on.
Goodbye, for now!
LiveLoveDolls
No comments:
Post a Comment